
Contents
Other articles you’d like:
Laptop stickers can be a great way to personalize your computer and show off your personality, but sometimes they can become unwanted or outdated. If you’re looking to remove a laptop sticker, it’s important avoid damaging the laptop’s surface or components, so you should do it carefully. In this article, we’ll provide a step-by-step guide on how to safely remove laptop stickers without damaging your computer.
Use a hairdryer or a heat gun to heat up the sticker
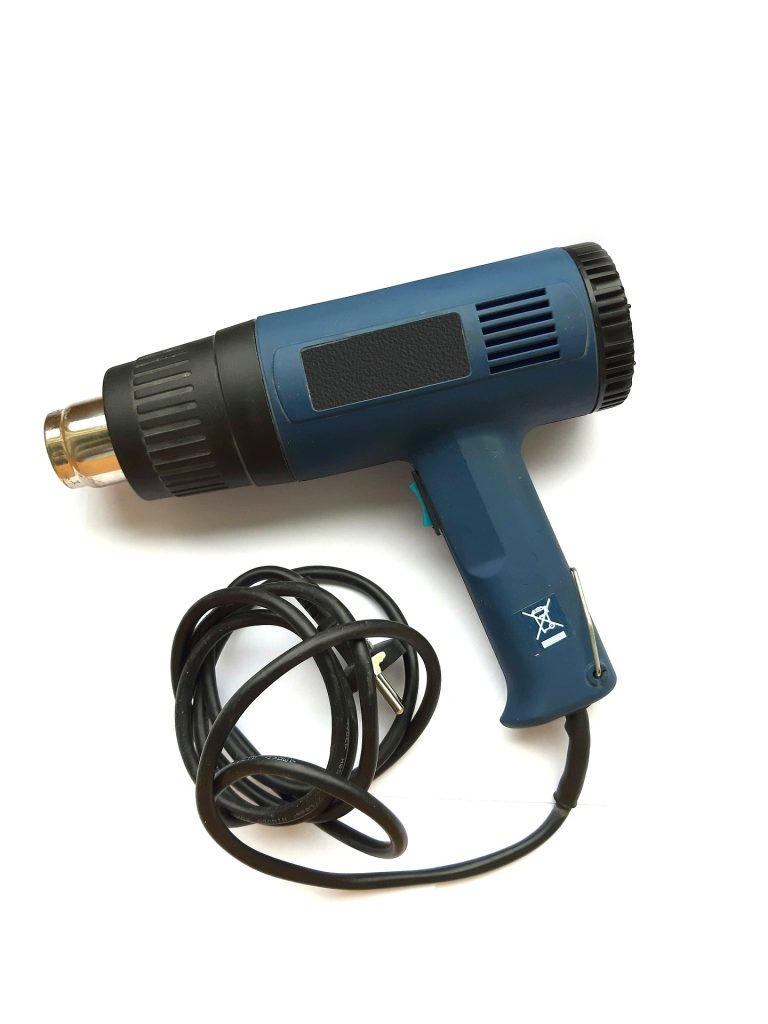
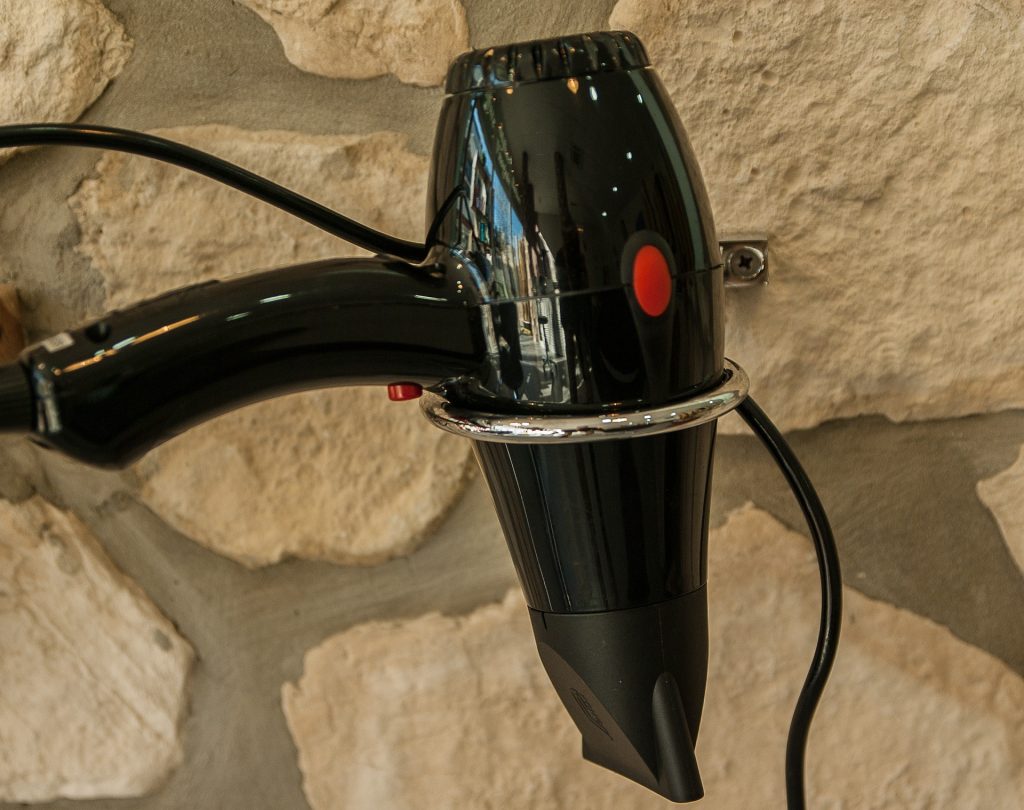
When you’re trying to remove a sticker from a laptop, the first step is to heat up the sticker with a hairdryer or a heat gun. This is an important step because it helps to loosen the adhesive, which makes it easier to remove the sticker without damaging the surface of the laptop.
If you try to remove a sticker without heating it up first, you’ll likely find that the adhesive is very difficult to remove. You’ll have to apply a lot of force to get it off, and the sticker will likely be stuck very firmly to the surface of the laptop. This can be frustrating and time-consuming, and it can also be damaging to the laptop if you’re not careful.
If you apply too much force when trying to remove a sticker, you risk damaging the surface of the laptop. This can include scratching the surface or even tearing the sticker, which can leave behind bits of adhesive that are difficult to remove. In some cases, you may even damage the laptop’s components if you’re not careful, And I’m sure you don’t want that to happen.
On the other hand, if you heat up the sticker before trying to remove it, the adhesive will be much easier to remove. The heat helps to soften the adhesive, making it easier to lift the sticker off of the surface of the laptop. This not only makes the process of removing the sticker easier and less time-consuming, but it also helps to protect the laptop from damage.
Gently lift one corner of the sticker
Once you’ve heated up the sticker, the next step is to gently lift one corner of the sticker with a fingernail or a flat tool, such as a credit card or a spatula. This is an important step because it helps to prevent damage to the laptop as you remove the sticker.
If you try to remove a sticker without lifting one corner first, you’ll likely find that the sticker is still very stuck to the surface of the laptop. This can make it difficult to get a good grip on the sticker, which can lead to you applying too much force as you try to pull it off. This can be damaging to the laptop, as you may scratch the surface or damage components inside the laptop if you’re not careful.
In addition to helping to prevent damage, lifting one corner of the sticker before removing it can also make the process of removing the sticker easier and more efficient. Save you time and frustration, by getting a good grip on the sticker. That way you’ll be able to remove it more quickly and with less effort.
In a 90-degree angle Slowly peel the sticker
Once you’ve lifted one corner of the sticker, the next step is to slowly peel the sticker off of the laptop, pulling it away from the surface at a 90-degree angle. This is an important step because it helps to prevent damage to the laptop as you remove the sticker.
If you try to remove a sticker by pulling it straight up or at a different angle, you’ll likely find that the adhesive is still very stuck to the surface of the laptop. This can make it difficult to get a good grip on the sticker, which can lead to you applying too much force as you try to pull it off. This can be damaging to the laptop, as you may scratch the surface or damage components inside the laptop if you’re not careful.
On the other hand, if you slowly peel the sticker off of the laptop at a 90-degree angle, you’ll be able to get a better grip on the sticker and apply less force as you remove it, minimizing the risk of damage to the laptop’s surface and components.
If the sticker is resistant and won’t come off easily, you can try using a little bit of rubbing alcohol or a sticker remover to soften the adhesive. These products can help to loosen the adhesive, making it easier to remove the sticker without damaging the laptop.
Use a cotton swab or a cloth dipped in rubbing alcohol
After you’ve removed the sticker, it’s important to clean any adhesive residue that may be left behind on the laptop’s surface. If you don’t remove this residue, it can attract dirt and grime, which can be difficult to remove and may even cause damage to the laptop over time.
To remove adhesive residue, you can use a cotton swab or a cloth dipped in rubbing alcohol. Rubbing alcohol is a good choice because it can dissolve the adhesive without damaging the laptop’s surface. Simply dab the cotton swab or cloth on the residue and gently wipe it away.
It’s important to be gentle when cleaning the laptop’s surface, as applying too much pressure or using abrasive materials can cause damage. Once you’ve removed the residue, be sure to wipe the surface dry with a clean cloth. This will help to prevent any moisture from damaging the laptop.
After you’ve removed the first sticker, it’s important to repeat the process for any remaining stickers on the laptop. This is important because it ensures that all of the stickers are removed, which helps to keep the laptop looking clean and well-maintained.
If you don’t remove all of the stickers, you risk leaving some behind that can also be visually distracting and may not be to everyone’s taste.
Once you’ve removed all of the stickers, be sure to clean any adhesive residue left behind and wipe the surface of the laptop dry. This will help to prevent any damage to the laptop and keep it looking clean and well-maintained.
I really hope you enjoyed this article. Make sure to leave a comment if you have any additional questions. I’m here to help!